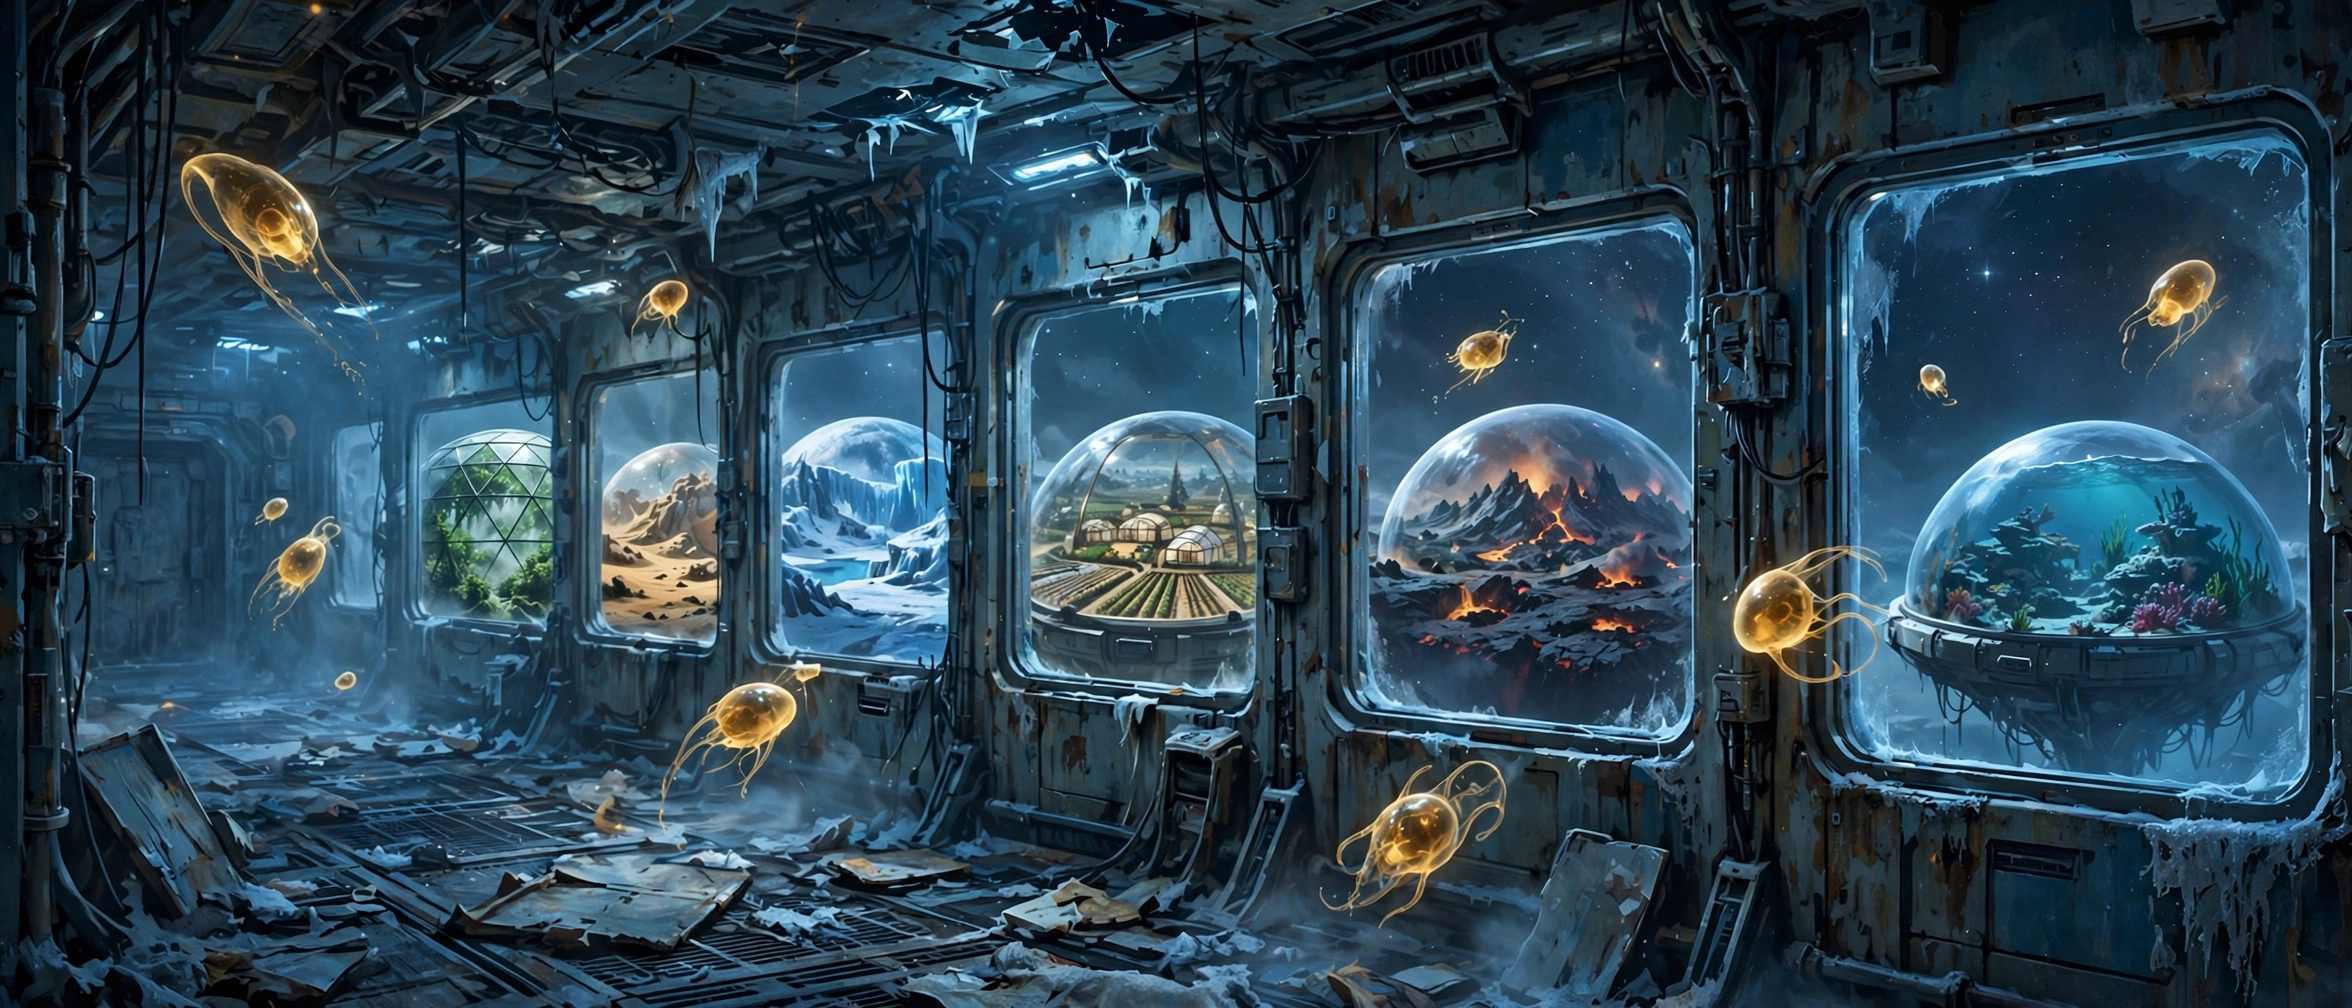
Fusion is the Metroid where the map talks back. A computer named Adam unlocks your doors one security level at a time, the station's six sectors open in an order the game chooses, and something wearing your own fully powered suit is hunting you through the vents. This is a deep strategy guide to the original GBA version — the ability order and where each one really comes from, how the X economy replaces item drops, the boss sequence, and how to survive every SA-X encounter.
Quick facts
| Item | Detail |
|---|---|
| Original title | メトロイド フュージョン (Metoroido Fyūjon) |
| English title | Metroid Fusion |
| Platform | Game Boy Advance |
| Release date (Japan) | February 14, 2003 (first released in North America in November 2002) |
| Developer / Publisher | Nintendo R&D1 / Nintendo |
| Director | Yoshio Sakamoto |
| Genre | Action-adventure (guided exploration, survival-horror encounters) |
Overview
On a survey mission to SR388, Samus is infected by a parasitic organism — the X — which mimics and kills its host. She survives only because doctors inject a vaccine made from Metroid DNA. The cure rewires her: she can now absorb free-floating X to restore energy and ammunition, but she inherits the Metroids' weakness to cold, and the infected parts of her Power Suit, surgically removed, are shipped to the Biologic Space Laboratories station — where the X inside them reassemble into the SA-X, a copy of Samus at full power.
Fusion is structured as a mission chain rather than an open map. The station has a Main Deck and six themed sectors: Sector 1 (SRX), a replica of SR388; Sector 2 (TRO), tropical jungle; Sector 3 (PYR), desert and magma; Sector 4 (AQA), aquatic; Sector 5 (ARC), sub-zero; and Sector 6 (NOC), a dark habitat for nocturnal life. Adam, the ship's computer, briefs you in Navigation Rooms, opens Security Locks in stages (Levels 0–4), and authorises ability data in Data Rooms. Between briefings, the SA-X keeps breaking the station — flooding sectors, cutting elevators, releasing thousands of X — and the route Adam planned is rarely the route you get to walk.
The linearity is the point of tension. Fusion trades Super Metroid's silence for orders, deadlines and a predator you cannot kill — and then, in its final act, lets you disobey.
Why It Still Matters
Fusion is the hinge of the whole series' story: it explains what a Metroid actually is to Samus, turns the Federation from backdrop into antagonist, and its ending stood as the chronological end of the saga for nearly two decades, until Metroid Dread (2021) finally continued it — Dread's design, from its pursuing E.M.M.I. robots to its cinematic counters, descends directly from the SA-X encounters here.
As a GBA game it also remains a masterclass in density. Led-grabbing and ladders (new to the series here) make its smaller map more vertical than it looks, the X-absorption loop replaces random drops with a risk decision — dive into a swarm to heal, or stay safe and stay hurt — and the Japanese version also carries small extras over the overseas release, including additional gallery endings tied to clear conditions. It is the most directed 2D Metroid, and deliberately the most frightening.
Highlights
- The SA-X encounters. Scripted, unscriptable-feeling: the screen shakes, the music stops, and a hunter with your Ice Beam walks the corridor. Until the very end, the correct move is always to run or hide.
- The X economy. Enemies release X parasites instead of drops: yellow X restore energy, green X restore missiles, red X restore a lot of everything, and blue X — cold — hurt Samus until she gains the Varia Suit.
- Bosses that are also your inventory. Almost every major ability is a Core-X inside a boss; killing the monster is only half the fight, because the Core-X must still be broken and absorbed while its protective swarm attacks.
- Nightmare. A gravity-manipulating biomechanical weapon that drifts through Sector 5 long before you fight it, melting a little more each time you see it — the series' most unsettling boss introduction.
Strategy Essentials
1. The ability order — what you get, where, and from whom
Fusion's progression is fixed in sequence, and its abilities come from two distinct sources: some are obtained by downloading data in a Data Room, while others are obtained by breaking and absorbing a Core-X after a boss fight. Beams and suits cannot be grouped together as Data Room downloads — several beams and both suits in the table below are recovered from Core-X. The table separates the two sources for every ability.
| Order | Ability | Source | What it unlocks |
|---|---|---|---|
| 1 | Missile | Data Room, Main Deck | Missile doors; your first heavy damage |
| 2 | Morph Ball | Core-X after Arachnus, Main Deck | Rolling, narrow passages — the station's real road network |
| 3 | Charge Beam | Core-X (a boss mimicking a Chozo Statue), Sector 1 | Charged shots; kills the eye-door guardians efficiently |
| 4 | Bomb | Data Room, Sector 2 | Morph Ball bombs; breakable-block detection by explosion |
| 5 | Hi-Jump / Jump Ball | Core-X after Zazabi, Sector 2 | Higher jumps and Morph Ball jumping (Spring Ball function) |
| 6 | Speed Booster | Core-X after the Serris fight, Sector 4 | Shinespark techniques; long corridors become shortcuts and weapons |
| 7 | Super Missile | Data Room, Sector 3 | Super Missile doors; a large damage step up |
| 8 | Varia Suit | Core-X (the giant Barrier / Mega Core-X), Sector 6 | Immunity to cold: blue X become absorbable and Sector 5 opens properly |
| 9 | Ice Missile | Data Room, Sector 5 | Freezes enemies into platforms — your cold weapon, since the Ice Beam itself is denied to you by your Metroid DNA |
| 10 | Wide Beam | Core-X mimicking a scientist, Main Boiler Control Room, Sector 3 — during a countdown | A three-way spread; beams stack from here on |
| 11 | Power Bomb | Data Room, Sector 5 | Full-screen blast that also reveals hidden block types around you |
| 12 | Space Jump | Core-X after Yakuza, Main Deck reactor route | Unlimited mid-air somersault jumps |
| 13 | Plasma Beam | Core-X after Nettori, Sector 2 (late mission) | Piercing beam; the endgame damage standard |
| 14 | Gravity Suit | Core-X after Nightmare, Sector 5 | Free movement underwater and immunity to lava |
| 15 | Diffusion Missile | Data Room, Sector 4 (late mission) | Ice Missiles gain a spreading freeze on impact |
| 16 | Wave Beam | Core-X after the Security Robot (B.O.X., second fight), Sector 6 | Shots pass through walls |
| 17 | Screw Attack | Core-X after Ridley (Neo-Ridley / Ridley-X), Sector 1 (late) | The classic spinning destruction move; most blocks and enemies simply cease to be obstacles |
| 18 | Ice Beam | Absorbed from the SA-X Core-X in the Docking Area, while confronting the Omega Metroid during the escape | Restored for one fight only: the Omega Metroid |
Beams stack in Fusion — Charge, Wide, Wave and Plasma combine rather than replace each other — and suit upgrades do not replace either: Varia then Gravity both persist.
2. Boss sequence — the station's real itinerary
| Boss | Where | Drops / authorises | The fight in one line |
|---|---|---|---|
| Arachnus | Main Deck | Core-X: Morph Ball | You do not have the Morph Ball yet, so you cannot roll — jump or cling to the wall to avoid its attacks, and fire Missiles into its front |
| Zazabi | Sector 2 (TRO) | Core-X: Hi-Jump / Jump Ball | When it opens its underside and drops down, fire Missiles up into it from below, then move clear before it lands |
| Serris | Sector 4 (AQA) | Core-X: Speed Booster | Ultrafast and mostly underwater; surface islands are your only safe footing |
| Security Robot B.O.X. (1st) | Sector 3 (PYR) | No reward — it withdraws | You are not meant to win yet — damage it until it retreats |
| Barrier / Mega Core-X | Sector 6 (NOC) | Core-X: Varia Suit | Use the Charge Beam against the outer Barrier form; once it becomes a normal Core-X, finish it with Missiles |
| Human Core-X (scientist mimic) | Sector 3 (PYR), boiler room | Core-X: Wide Beam | Fought against a countdown — finish it and still leave time to restart the cooling unit |
| Yakuza | Main Deck, reactor core route | Core-X: Space Jump | Fire-spewing grab attacks; after the body dies, the hard-shelled Core-X phase is the real fight |
| Nettori | Sector 2 (TRO), late | Core-X: Plasma Beam | A Chozo statue overgrown by plant life; plasma-spitting flowers guard it |
| Nightmare | Sector 5 (ARC) | Core-X: Gravity Suit | It switches gravity mid-fight; when its faceplate melts, aim everything at the face |
| Security Robot B.O.X. (2nd) | Sector 6 (NOC) | Core-X: Wave Beam | This time you finish it — missiles to the exposed core only |
| Neo-Ridley (Ridley-X) | Sector 1 (SRX), late | Core-X: Screw Attack | Tail stabs and grabs punish standing still; keep moving and punish the landings |
| SA-X | Main Deck, finale | No ability — its Core-X flees after the fight | The one SA-X fight you are allowed to win — fought with a fully stacked beam; the Core-X escapes, so the Ice Beam is not recovered here |
| Omega Metroid | Docking area, escape sequence | Ice Beam is recovered here, absorbed from the SA-X Core-X while confronting the Omega Metroid | Ice Beam only, under a countdown; recovering the Ice Beam at this confrontation makes the fight possible |
3. Surviving the SA-X — rules, not tips
| Situation | Rule |
|---|---|
| You hear the heavy footsteps / the screen shakes | Stop. It is scripted and near; moving blindly is how runs end |
| It enters the corridor | You cannot damage it (before the finale). Run, or hide: some encounters pass if you stay morphed and unseen in an alcove |
| It shoots the Ice Beam at you | One freeze plus follow-up hits can end a low-energy run — keep energy above the freeze combo's cost in any sector where it roams |
| A door or floor explodes ahead of you | That is the game telling you the planned route is dead; look for vents and Morph Ball passages instead |
| The finale | Fight it like a mirror match: it has your old kit, including Screw Attack — keep your distance and use charged Plasma shots |
4. Expansions and the 100% question
Expansions follow GBA-era values: Energy Tanks add a full tank of energy, Missile expansions add 5 missiles, Power Bomb expansions add 2. Fusion hides them behind the same block grammar as always — bomb a floor, Speed-Boost through a wall, freeze an enemy into a step — with one Fusion-specific twist: because Adam's locks gate the map, some early-sector expansions can only be collected on late revisits when a higher Security Level or a new ability (Power Bomb especially) is available. A clean first run finishes with a modest item rate by design; 100% is a second tour of a station you finally hold all the keys to. Item percentage and clear time also decide which ending gallery image you see, and the Japanese version adds further gallery conditions — completionists should plan the low-percentage and speed runs as separate saves.
Who It's For
For players who like their exploration with a director: Fusion is the 2D Metroid for people who found Super Metroid's openness aimless, and the horror-tinged Metroid for players who want a pursuer in the walls. Series veterans get the most layered story the 2D games attempted; newcomers get the most guided on-ramp the classic series ever offered — with the warning that its final third assumes you have been collecting expansions along the way.
How to Play It Today
Fusion is playable today through official channels, including Nintendo Switch Online + Expansion Pack (Game Boy Advance library), and it was previously distributed on the Wii U Virtual Console and to Nintendo 3DS Ambassadors. Original GBA cartridges also circulate on the second-hand market. This guide describes the original GBA version.
Find original hardware editions on eBay
As an eBay Partner Network affiliate, Enkeisha may earn a commission from qualifying purchases made through these links.
Search eBay listings (affiliate link)
Check the language, region, hardware compatibility, condition and authenticity before buying. Search results may include reproductions; links do not endorse individual sellers.