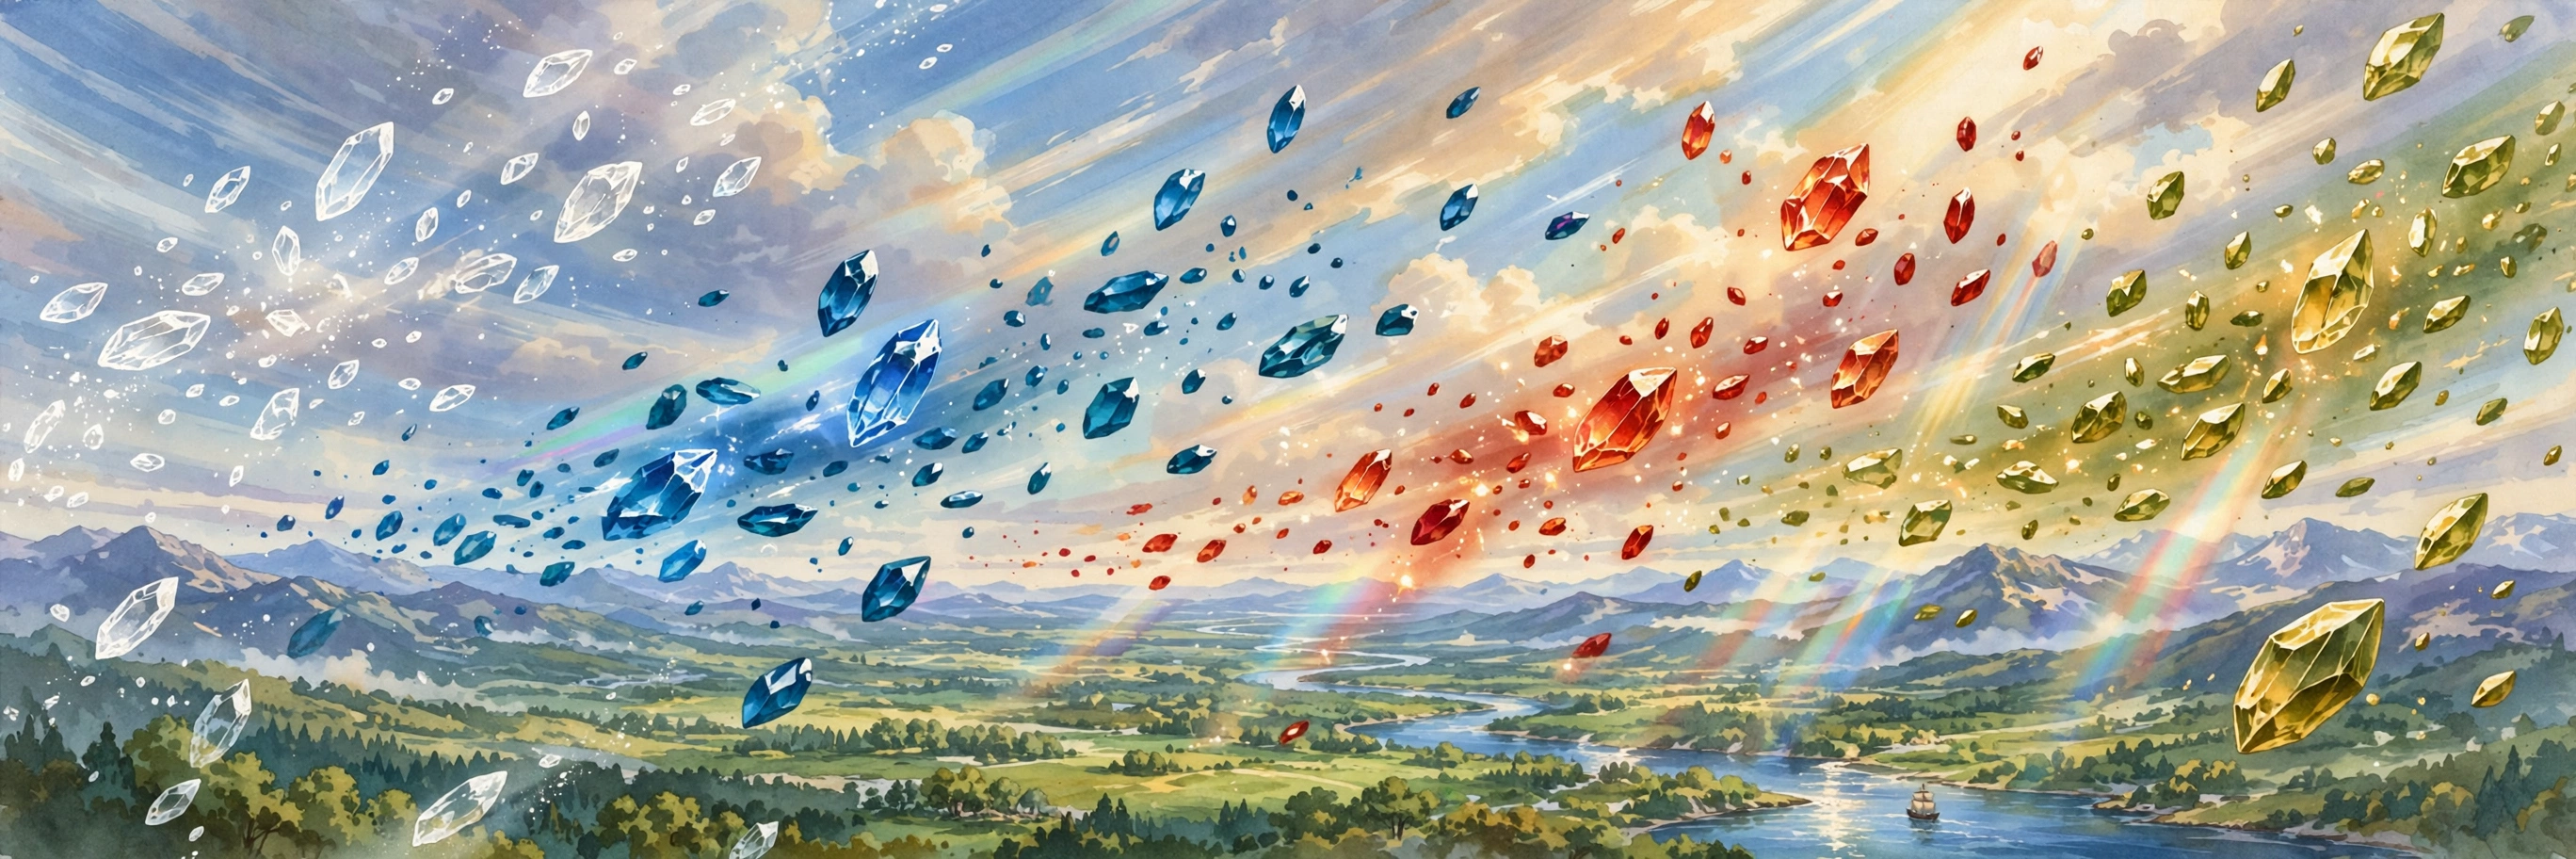
Four travellers receive the power of shattered crystals — and instead of fixed heroes, the game hands you twenty-two jobs and says: decide who these people are. Final Fantasy V (Super Famicom, December 1992) is the entry the West almost never got: a Japan-only original whose job system remains the most flexible character-building engine in the series. This guide covers that original in depth — every job, every summon, and the hidden machinery underneath.
A scope note, because version confusion is this game's biggest trap: everything below describes the Super Famicom version only. The Game Boy Advance version and its derivatives add four extra jobs (Gladiator, Cannoneer, Oracle, Necromancer) and a bonus dungeon, the Sealed Temple — none of that exists here. The Pixel Remaster returns to the original's 22 jobs.
Quick Facts
| Item | Detail |
|---|---|
| Title (Japan) | Final Fantasy V (ファイナルファンタジーV) |
| English title | Final Fantasy V (the Super Famicom original had no official English release) |
| Platform | Super Famicom |
| Release (Japan) | December 6, 1992 |
| Developer | Square |
| Publisher | Square |
| Genre | Role-playing game (Active Time Battle) |
| Cartridge | 16 Mbit (2 MB), HiROM, ROM + RAM + battery (battery-backed save RAM); dumped image has a 512-byte copier header |
| Jobs | 22 in total in this version, including the starting Freelancer and the hidden Mime |
| Structure | Three worlds — Bartz's, Galuf's, and the merged world — plus the Interdimensional Rift |
| Battle party | 4 active members |
Overview
A meteor falls near Tycoon Castle, the wind dies, and Bartz — a wanderer travelling with his chocobo, Boco — is pulled into a quest alongside Lenna, princess of Tycoon; Galuf, an old warrior who has lost his memory; and Faris, a pirate captain with a secret. The four elemental crystals sustaining the world are shattering one by one, behind which stands Exdeath, a warlock sealed away thirty years earlier by Galuf and his companions, the Warriors of Dawn. When a crystal breaks, its shards choose the party — and grant them jobs.
The journey crosses three worlds: Bartz's own; Galuf's home world, where Exdeath rules openly; and the two merged into one, scarred by the Void. Midway, the party itself changes: Galuf's granddaughter Krile inherits his place, memories and — crucially — every job level and ability he had earned, so nothing built is wasted.
Around that story sits the defining system. Battles run on the Active Time Battle gauge from Final Fantasy IV, but who your characters are in battle is your construction: a Knight casting black magic, a White Mage fighting bare-handed like a Monk, a Dancer wielding a katana. Experience raises character levels; Ability Points (ABP) raise job levels — and abilities, once learned, are the character's forever.
Why It Still Matters
The job system did not start here — Final Fantasy III had job-changing first — but V is where it grew up. In III, a job was a costume you wore; in V, jobs are a vocabulary you learn from, one ability at a time, until the Freelancer you started with can be assembled from the best pieces of all twenty-two. Almost every later series experiment — the Materia of VII, the jobs of Tactics, the dresspheres of X-2 — is in conversation with what this game did in 1992.
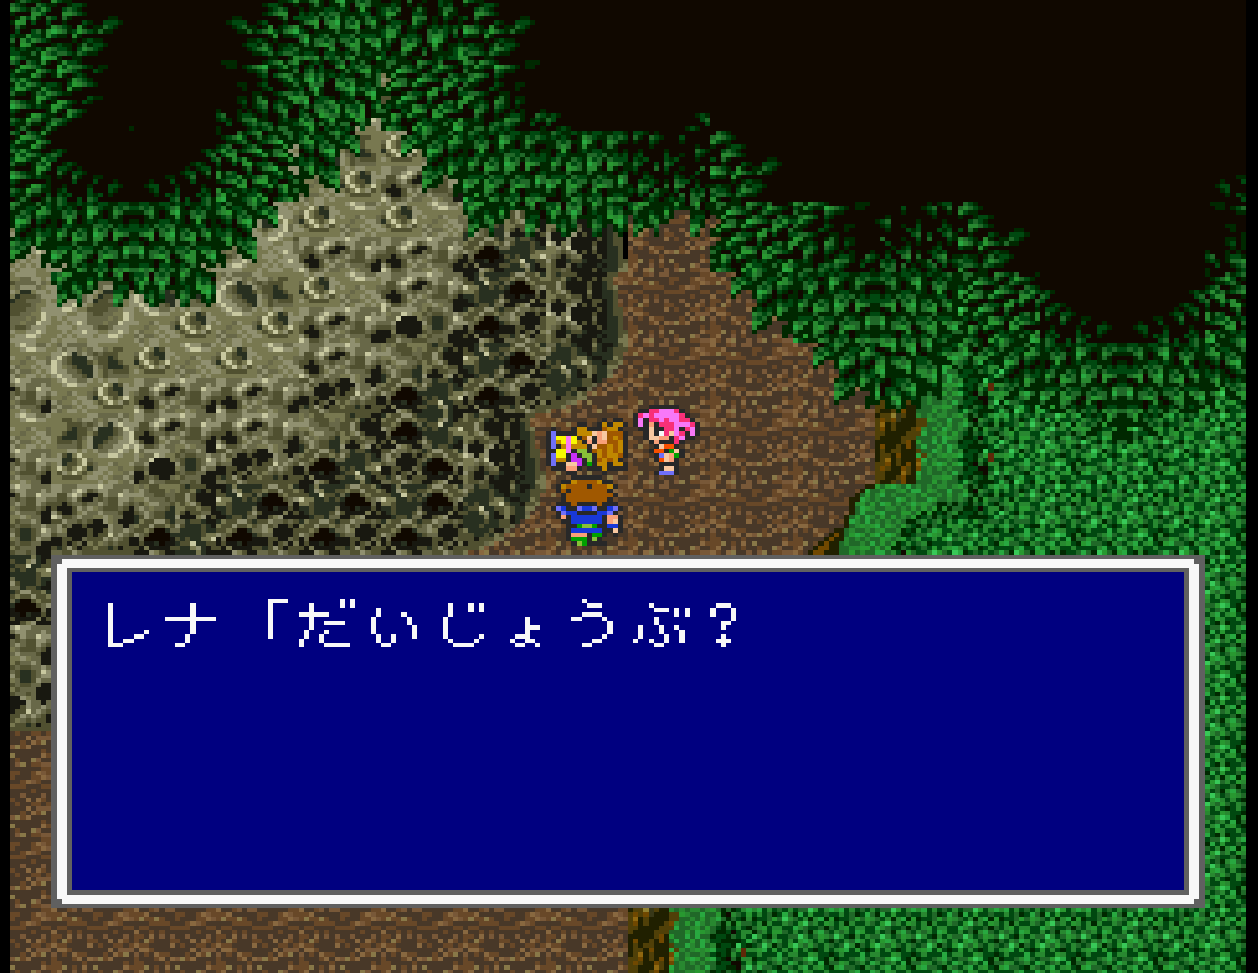
It also matters because of the years it was missing. The original was never released outside Japan, and no official English version existed until the PlayStation port in Final Fantasy Anthology in 1999. For English-speaking players, V was the rumour between the famous IV and VI: lighter on story, deepest in mechanics of the 16-bit trilogy. That is accurate — and why the game rewards a guide like this one. Its pleasures are in its tables.
Two more firsts: this is the debut of Gilgamesh, the dimension-hopping swordsman who would recur across the series, complete with his theme, "Battle at the Big Bridge." And in Omega and Shinryu, V fielded two of the genre's earliest true superbosses — opponents far stronger than the final boss, waiting to test your party-building.
Highlights
Twenty-two jobs, zero wrong answers. Every character can learn every job, abilities cross freely, and mastery permanently strengthens the two "blank" jobs, Freelancer and Mime. Respecialising costs nothing but ABP — experimentation is the intended way to play.
Blue Magic: the monster manual as a spellbook. Blue Mages learn enemy techniques by surviving them — thirty spells, from the opening hour's Goblin Punch to Mighty Guard, hidden on a rare sea monster in the merged world.
Gilgamesh. A comic, honourable, hopeless rival who ambushes you again and again — and whose Genji equipment, stealable across his appearances, is some of the best in the game.
A world that merges. Two world maps recombine into a third, and the optional content blooms: twelve sealed weapons, eight pianos' worth of bard songs, two superbosses, and a choice between two legendary joke-weapons that are not jokes at all.
Strategy Essentials
How jobs and ABP work
Winning a battle pays EXP and ABP separately. ABP goes only to the job each character is currently using, and each job level teaches one ability. The rules that matter:
- Abilities are permanent and portable. Most jobs have one open ability slot besides their own command; the Freelancer has two, and the Mime has three.
- Mastery feeds the blank jobs. A mastered job's best stat bonuses — and innate passives such as the Thief's Sprint or the Monk's Counter — pass permanently to that character's Freelancer and Mime. A fully mastered party ends as four Freelancers or Mimes stronger than any single job.
- Costs vary wildly. Geomancer and Bard master at 175 ABP total; the Red Mage's Dualcast costs 999 ABP for its final step alone (1,159 total), and the Mime's Mimic likewise costs 999 ABP.
- Four keystone abilities carry the endgame. Spellblade (Mystic Knight), Dual-Wield (Ninja), Rapid Fire (Ranger) and Dualcast (Red Mage). Spellblade + Dual-Wield + Rapid Fire means eight attacks a turn — four swings of each of two element-charged weapons, none able to miss.
All 22 jobs: where they come from, and what to take from them
| Job | Obtained | Role | Signature ability to carry away | ABP to master |
|---|---|---|---|---|
| Freelancer | Starting job | Blank slate; equips anything, inherits mastery bonuses | — (two ability slots) | — |
| Knight | Wind Crystal — Wind Shrine | Heavy front-liner | Two-Handed; Equip Swords | 690 |
| Monk | Wind Crystal — Wind Shrine | Bare-fisted damage, huge HP | Barehanded; Counter; HP +30% | 700 |
| Thief | Wind Crystal — Wind Shrine | Speed, stealing, utility | Steal / Mug; Sprint; Vigilance | 635 |
| White Mage | Wind Crystal — Wind Shrine | Healing and protection magic | White Magic up to Lv6 | 580 |
| Black Mage | Wind Crystal — Wind Shrine | Offensive elemental magic | Black Magic up to Lv6; MP +30% | 730 |
| Blue Mage | Wind Crystal — Wind Shrine | Learns enemy techniques | Learning + Blue Magic (30 spells) | 350 |
| Berserker | Water Crystal — Walse Tower | Huge strength, uncontrollable | Equip Axes | 500 |
| Mystic Knight | Water Crystal — Walse Tower | Charges weapons with spells | Spellblade | 680 |
| Time Mage | Water Crystal — Walse Tower | Haste, Slow, gravity and time magic | Time Magic up to Lv6 | 530 |
| Summoner | Water Crystal — Walse Tower | Party-wide summoned damage | Summon up to Lv5; Call | 750 |
| Red Mage | Water Crystal — Walse Tower | Early white + black magic in one job | Dualcast (final step alone: 999 ABP) | 1,159 |
| Ninja | Fire Crystal — granted automatically in the event after escaping Karnak Castle | Throwing weapons, two-weapon fighting | Dual-Wield; Throw | 690 |
| Beastmaster | Fire Crystal — granted automatically in the event after escaping Karnak Castle | Controls monsters | Control (needed for some Blue Magic); Catch | 460 |
| Geomancer | Fire Crystal — granted automatically in the event after escaping Karnak Castle | Terrain attacks, trap-proofing | Gaia; Light Step; Find Pits | 175 |
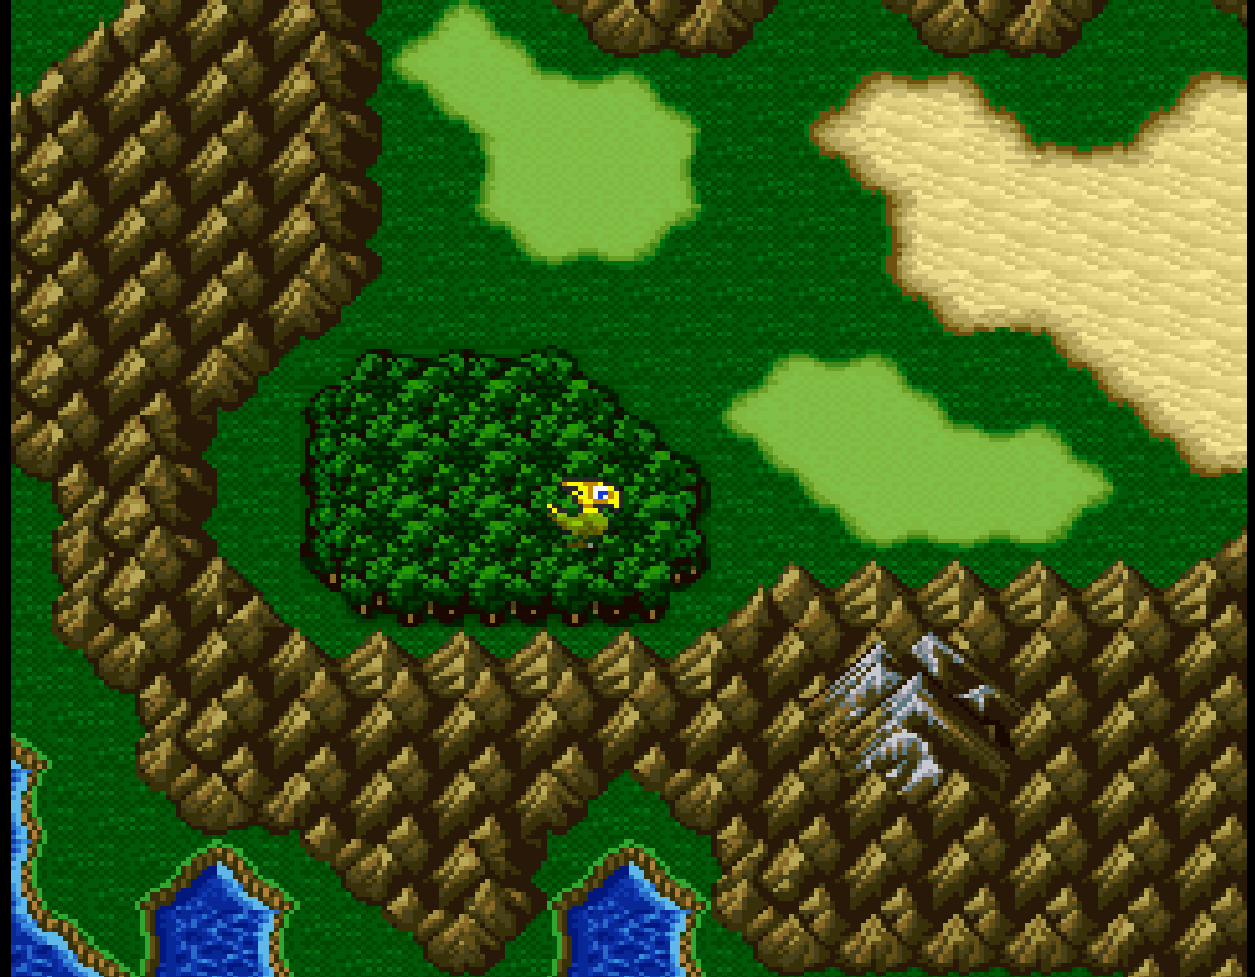
| Ranger | Fire Crystal — black chocobo shard, Chocobo Forest south of Crescent | Back-row bow damage that never misses | Rapid Fire; Aim | 600 |
| Bard | Fire Crystal — black chocobo shard, Chocobo Forest south of Crescent | Songs that buff, stop and shred | Sing | 175 |
| Dragoon | Earth Crystal — Ronka Ruins | Lance specialist | Jump; Lance | 600 |
| Samurai | Earth Crystal — Ronka Ruins | Katana damage | Gil Toss; Shirahadori (blade-grasp evasion) | 820 |
| Dancer | Earth Crystal — Ronka Ruins | Random-effect dances | Dance (Sword Dance: quadruple damage); Equip Ribbons | 400 |
| Chemist | Earth Crystal — Ronka Ruins | Item mastery | Mix; Drink; Pharmacology | 630 |
| Mime | Water Crystal shard in the Sunken Walse Tower (merged world), past Gogo | Copies allies; three ability slots | Mimic | 999 |
Three warnings belong with this table. First, the Fire Crystal set arrives in two instalments — three jobs granted automatically in the event after you escape Karnak Castle — no job can be missed by failing to search during the timed escape (what the timed escape can cost you is the castle's treasure chests, which cannot be revisited) — and the last two only when you catch the black chocobo south of Crescent and recover the shards it swallowed. Second, the Mime is genuinely hidden: its shard sank with Walse Tower and can only be retrieved by submarine in the merged world, past Gogo. Third, there are no other jobs in this version — the four Advance jobs do not exist here.
Every summon, and where it waits
Summon magic is bought, earned in story battles, or hidden behind optional fights — fifteen summons in five levels. ⚠ marks one that can be permanently missed.
| Summon | Lv | How to obtain | Notes |
|---|---|---|---|
| Chocobo | 1 | Buy in Walse for 300 gil | Also sold again later; the Magic Lamp's last resort |
| Sylph | 1 | Buy in Walse for 350 gil | Drains one enemy's HP and shares it with the party |
| Remora | 1 | Buy in Walse for 250 gil | Paralyses a single enemy |
| Shiva | 2 | Defeat her in the tower behind the waterfall at Castle Walse | ⚠ Permanently missed if you leave the first world without her |
| Ramuh | 2 | Random encounter in the forest east of Istory; defeat him, then use the item he drops | Do not discard the item — the only realistic way to lose him |
| Ifrit | 2 | Defeat him in the Library of the Ancients | Story battle |
| Titan | 3 | Defeat him at the Karnak Meteorite | Story battle leaving the first world — win it, do not flee |
| Golem | 3 | Random event in Drakenvale: defeat the two dragons attacking Golem first, then use the item | Retriable; Golem also turns up again in the Rift |
| Catoblepas | 3 | Random encounter in the forest on the north-western island of Galuf's world; defeat it and use the item | ⚠ The classic missable — settle it during the second world |
| Carbuncle | 4 | Defeat it in the transformed Castle Exdeath (via the skull switch on the magma floor) | ⚠ Take it before leaving the second world; the castle does not survive the merge |
| Syldra | 4 | Visit the Pirates' Hideout in the merged world after regaining the airship | A story scene, not a fight |
| Odin | 4 | Defeat him in the basement of Castle Bal, reached through Jachol Cave (merged world) | A strictly timed fight — bring your heaviest damage |
| Leviathan | 5 | Defeat him at Istory Falls | Story battle, at the fourth tablet |
| Bahamut | 5 | Defeat him on North Mountain's summit (merged world, by black chocobo) | One of the hardest storyline fights |
| Phoenix | 5 | Reach the top of Phoenix Tower (merged world) | No boss — the climb, past trick walls, is the test |
One bonus tool ties the list together: the Magic Lamp, found at Istory Falls in the merged world by riding Boko along the rivers, summons for free in descending order — Bahamut first, down to Chocobo — and recharges when you revisit it. Any character, Summoner or not, can fire your strongest summon once per charge cycle.
Bosses that stop parties — and the hidden systems behind them
| Boss / challenge | Where | The direction that beats it |
|---|---|---|
| Garula | Top of Walse Tower (Water Crystal) | Relentless physical rushes. Keep HP topped up, protect your casters, end it quickly |
| Liquid Flame | Fire-Powered Ship | Cycles between human, hand and tornado forms, each with different counters. Ice and Shiva punish most forms; in tornado form, hold physical attacks and wait it out |
| Archeoavis | Ronka Ruins (Earth Crystal) | Revives repeatedly, changing its elemental weakness each time. Carry several elements, pace your MP, and treat only the final form as the real kill |
| Gilgamesh | The Big Bridge, and repeatedly afterwards | Buffs himself with Protect, Shell and Haste — and can be robbed: the Genji Gloves are stolen not here but in his third encounter, aboard Xeza's fleet (the Big Bridge fight itself offers a Hero's Drink, or rarely a Trident). Dispel, plan your steals for the right encounter, then race him |
| Atomos | Barrier Tower | Wormhole swallows allies who are knocked out, removing them from the fight. Revive the fallen immediately — a KO left on the floor is a member deleted |
| Gogo | Sunken Walse Tower (Mime shard) | Do not attack. Mimic everything he does — including doing nothing — and he will concede the shard |
| Fork Tower: Minotaur & Omniscient | Fork Tower (merged world) | The party splits in two: one tower punishes physical attacks, the other magic — Omniscient resets the fight if struck physically. Send pure-physical one way, pure casters the other. Prizes: the ultimate spells Holy and Flare |
| Neo Exdeath | End of the Interdimensional Rift | Four targets at once, plus Almagest's heavy party damage and Grand Cross's status storm. Mighty Guard early, status protection on, focus the parts down |
| Omega | Interdimensional Rift (optional) | Permanent Reflect makes direct magic useless; it is weak to lightning. The classic answer: Thundaga Spellblade + Dual-Wield + Rapid Fire, a Bard's Romeo's Ballad to hold it in Stop, Fire Rings for its fire attacks |
| Shinryu | Interdimensional Rift (optional; guards the Ragnarok sword) | Always opens with Tidal Wave — party-wide water damage that ends unprepared parties on turn one. Coral Rings turn it into healing; then Dragon Lances, stolen from Crystal Dragons, with Jump or Rapid Fire finish it |
Blue Magic, the short list that matters. A Blue Mage (or anyone with Learning equipped) learns a spell by being hit by it and surviving the battle. Of the thirty, these eight repay the hunt first:
| Spell | What it does | One reliable place to learn it |
|---|---|---|
| Goblin Punch | Damage that ignores defence calculations when levels match | Goblins, from the opening areas onward |
| Aero | Entry-level wind damage | Flying enemies around the Wind Shrine |
| Aqua Breath | Non-elemental damage to all enemies, extra against desert creatures | Dhorme Chimera, in the desert around Karnak |
| Level 5 Death | Instant death to enemies whose level is a multiple of 5 | Page 64, in the Library of the Ancients |
| Self-Destruct | The caster explodes for damage equal to its remaining HP | Bomb-type enemies, including Fire-Powered Ship Motor Traps |
| 1000 Needles | Exactly 1,000 damage, no defence, no miss by level | Lamia-type enemies |
| White Wind | Heals the whole party by the caster's current HP | Enchanted Fan, Ronka Ruins — use Control or Confuse to make it target you |
| Mighty Guard | Protect, Shell and Float on the whole party at once | Stingray, a rare encounter at sea in the merged world — the hunt is the price |
The twelve sealed weapons. In the merged world, four tablets wait in four dungeons: the Pyramid of Moore, the Island Shrine, the Great Sea Trench and Istory Falls. Take each to the sealed castle of Kuza and unseal three of the twelve legendary weapons per tablet, in any order: Assassin's Dagger, Sasuke's Katana, Holy Lance, Rune Axe, Yoichi's Bow, Fire Lash, Excalibur, Masamune, Apollo's Harp, Gaia Bell, Magus Rod and Sage's Staff. Only the first tablet is required to finish the game — but the tablet dungeons also gate the biggest spells: the Island Shrine tablet opens the Fork Tower (Holy and Flare), the Great Sea Trench tablet is tied to Meteor, the ultimate Time Magic, and Leviathan waits at Istory Falls. Choose your first three weapons for the jobs you actually use.
The pianos. Eight pianos stand in the world's pubs and one bard's house: Tule, Carwen, Karnak, Jachol, Crescent, Regole, Moore and the Phantom Village. Play them as you find them, then report to the bard in Crescent: seven earn Sinewy Etude, all eight earn Hero's Rime, the Bard's ultimate song, which raises the party's effective level while it plays. The pianos are never permanently lost, but the reward is easy to forget.
Brave Blade or Chicken Knife? In the village of Moore in the merged world, an old man offers exactly one of two weapons — and both have been keeping score of how you played the entire game so far. The Brave Blade starts at 150 attack, the highest base power in the game, and loses 1 point for every battle you have ever fled. The Chicken Knife starts at 0 and gains 1 point per two escapes, capping at 127 attack after 254 escapes — but a normal Attack with it carries a 25% chance of forcing your party to flee, a flaw you can bypass by attacking with Rapid Fire or Mug instead. Aim does not prevent the forced escape in the Super Famicom version. Decide by your own escape counter, running since the first Goblin: honest players take the Blade, the rest of us take the Knife — and the Knife, fully grown, is widely considered stronger anyway.
Who It's For
Players who treat a party as something to be designed will find this the most rewarding of the 16-bit entries. It suits series historians wanting the missing chapter between IV and VI in original form, challenge runners — the annual fan-run Four Job Fiesta restricts each playthrough to four randomly assigned jobs, precisely because this system invites it — and anyone who prefers systems to cutscenes. If you need an English script first time out, start with the Pixel Remaster.
How to Play It Today
As of this writing:
- The original artefact: a Japanese Super Famicom cartridge, in Japanese, on Super Famicom or compatible hardware. There is no Nintendo Switch Online release of the original, and older download reissues on discontinued storefronts should be treated as unavailable unless a current storefront shows otherwise at purchase time.
- The first official English version: the PlayStation port in Final Fantasy Anthology (North America, 1999; also standalone and in Final Fantasy Collection in Japan). Faithful in content, with the load times of its era.
- The expanded version: the Game Boy Advance port (2006) — a different edition, adding the four extra jobs and the Sealed Temple. Excellent, but not the game this guide describes.
- The modern standard: Final Fantasy V Pixel Remaster (Windows, iOS and Android from 2021; Switch and PlayStation 4 from 2023; Xbox Series X/S from 2024, as of this writing). It keeps the original's 22 jobs and content, with redrawn pixel art, a rearranged soundtrack and boost options the original never had.
Related Reading
- Dragon Quest V: Hand of the Heavenly Bride — the other great Super Famicom RPG of 1992
- Live A Live — Square's other experimental Super Famicom RPG
- Our retro RPG coverage and more Super Famicom strategy features
Editorial note: The basic specifications (internal title, capacity and memory configuration) are based on a check of the cartridge header information. Strategy content is drawn from published sources.
Game screenshots captured by the author. ©SQUARE ENIX
Find original hardware editions on eBay
As an eBay Partner Network affiliate, Enkeisha may earn a commission from qualifying purchases made through these links.
Search eBay listings (affiliate link)
Check the language, region, hardware compatibility, condition and authenticity before buying. Search results may include reproductions; links do not endorse individual sellers.